6 Tips And Recommendations For A Perfect Home Manicure
Hands are an important part of our beauty and personal presentation. Therefore, to keep them beautiful, clean and well presented, there are centers that offer manicures.
This procedure pampers the hands and gives the nails a beautiful appearance.
Nowadays, many people have specialized in this type of beauty treatments in order to help improve the condition of the hands and nails on a regular basis.
However, either due to time or financial problems, some people cannot go to the beauty salon and that is when they look for other alternatives.
Steps to a perfect home manicure
Next, we want to share some basic recommendations to make a perfect home manicure in case you cannot go to a professional, either for financial reasons or time.
1. Remove the old enamel
Despite the fact that there is no scientific evidence to show which is the best method to make a perfect manicure; Yes, there are several coincidences in the opinions in common of many professionals.
Therefore, following those recommendations; the first step would be to remove the polish residue that usually sticks to the nails from a previous manicure.
Choose a mild nail polish remover, as there are some that contain harsh compounds that can weaken your nails .
Soak a cotton ball with the product and then apply it with light pressure for a minute to dissolve the previous product and thus remove it easily.
Avoid rubbing it from one side to the other because all you are going to do is stain your fingers.
2. File to shape them
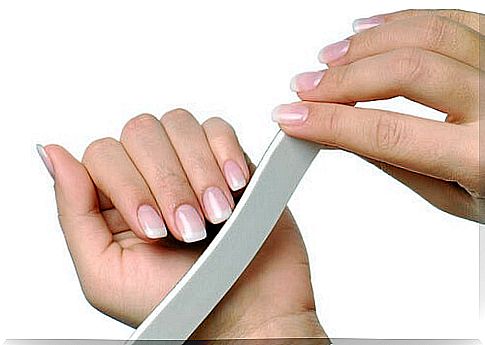
The file is the star element of the manicure. Allows you to shape nails before working with cuticles and other products.
Experts in this area tend to opt for cardboard files, since metallic ones tend to weaken and break the nail easily, opening into “flakes” or “layers”. However, there is currently a wide range of files on the market: padded, glass … It’s all about trying the one that best suits you!
To file, make the movement in the same direction, avoiding the famous zigzag that can damage the nail. Move it from the sides towards the center very smoothly, giving it the desired shape.
Avoid filing the surface of the nails excessively as you will be removing their protective layer and weakening them.
3. Dip your hands in hot water
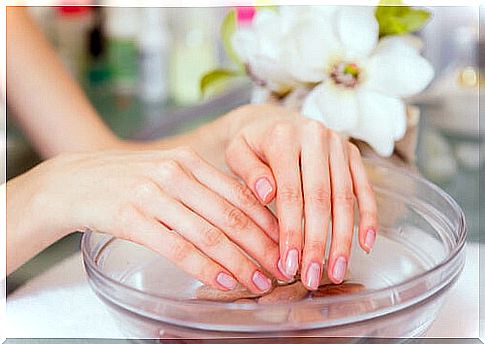
The hot water helps to relax the hands and soften the cuticles so that it is easier to treat this part of the hands.
Experts recommend avoiding cutting the cuticles, since this has a protective function on the nail and, when cutting them, they will grow harder and harder.
In this step, we will remove only those that are adhered to the surface of the nail, using a specific cream and an orange stick.
4. Moisturize and apply a foundation
After immersing your hands in water , a moisturizing cream should be applied, without touching the nails because the oil from these products can make it difficult to fix the enamel.
Before applying the color, remember to use a good base to avoid yellowing discolorations and thus polish the surface.
5. Apply the nail polish
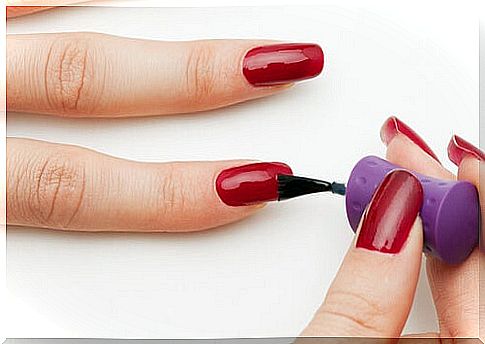
Choose the nail polish color that you like the most and apply it starting from the center of the nail outwards, before giving another two strokes to the sides.
Ideally, apply two coats so that the color is bright and perfect. To do this, apply one first and wait for it to dry to apply the other.
You should avoid adding more layers because the only thing you are going to achieve is that the polish does not adhere properly to the nail and falls off quickly.
6. Finish with a blotting shine
To finish a perfect manicure, wait a few seconds for the polish to dry and then apply a few drops of colorless drying polish for maximum wear and a touch of extra shine.
To keep in mind
Hands and nails are exposed to factors that can make them dirty, affect their health, and make them look unpleasant. For this reason, we recommend getting a manicure at least once a week. However, the use of enamels should not be abused.
If you have fragile nails, you should avoid using aggressive polishes, as they could make the problem worse. In this case, it is best to clean them and use a strengthening product before coloring them.